
The Ultimate Guide to Cheap Greenhouse Staging: My Top Picks & DIY Secrets
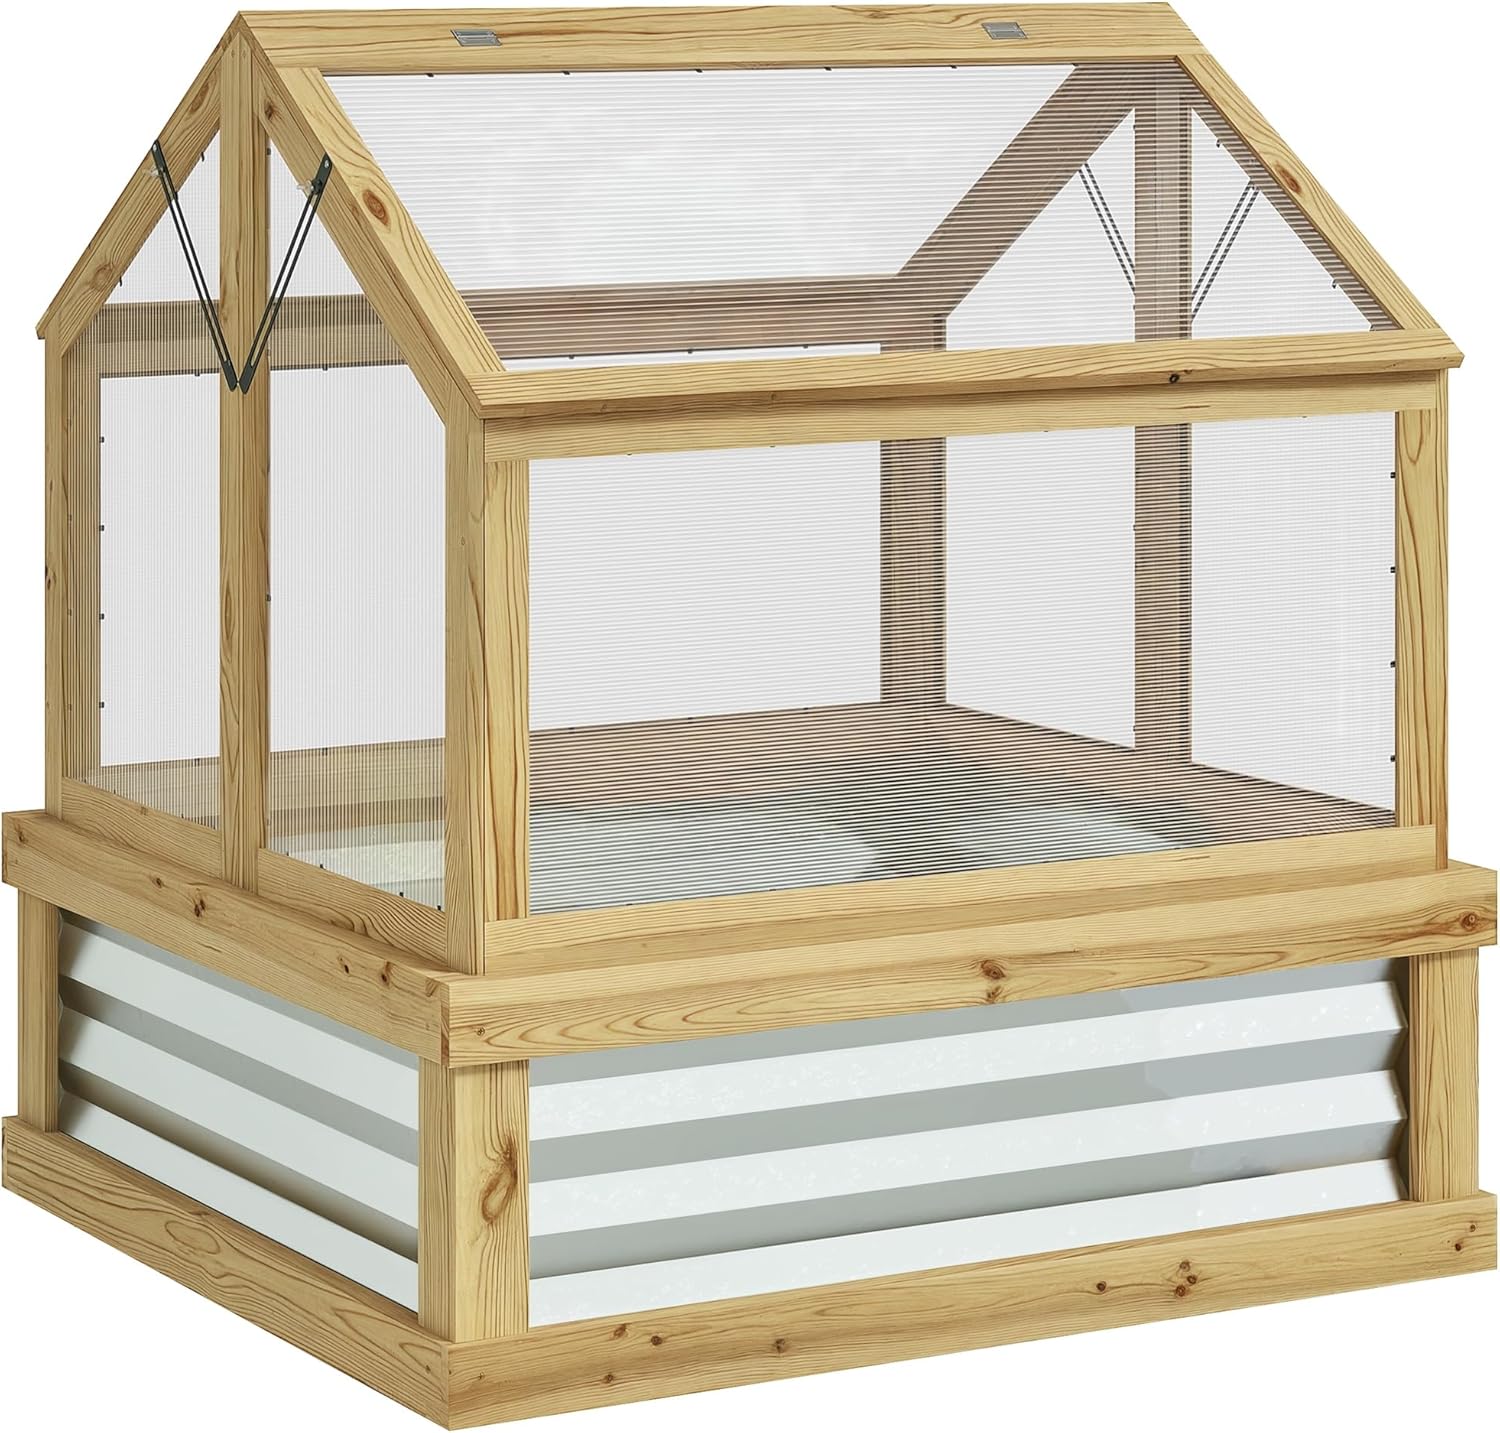
So, you’ve got your greenhouse. The excitement is palpable. You can already picture rows of vibrant tomato plants, crisp lettuces, and exotic flowers. But then reality hits: where do you actually put everything? You quickly realize that floor space alone won’t cut it. You need to go vertical. You need staging.
I’ve been there. When I set up my first hobby greenhouse over 15 years ago, I was shocked by the price of “official” greenhouse staging. It felt like I was being asked to spend nearly as much on the furniture as I did on the structure itself! My budget screamed “no,” but my gardening ambitions screamed “yes.” This dilemma sent me on a long journey of testing, building, and discovering the absolute best ways to furnish a greenhouse effectively and, most importantly, affordably.
This isn’t just a list of products. This is a culmination of years of hands-on experience—of shelves that rusted, wood that rotted, and brilliant, cheap solutions that have stood the test of time. I’m going to share my hard-won knowledge with you, from the best budget-friendly products on the market to my favorite, ridiculously cheap DIY staging hacks that work just as well, if not better.
The best cheap greenhouse staging solutions are multi-purpose items that are durable, water-resistant, and maximize vertical space. For most gardeners, the top choice is heavy-duty, NSF-rated wire shelving on wheels. It offers excellent air circulation, high weight capacity, and is rust-resistant. Other fantastic, affordable options include simple plastic utility shelving, cinder block and plank benches, and specific, budget-friendly potting benches.
The key is to prioritize function over form, focusing on materials that can withstand the high humidity and temperature swings of a greenhouse environment.
Why Good Staging is the Most Underrated Greenhouse Upgrade
Before we dive into the “what,” let’s talk about the “why.” Many new greenhouse owners see staging as an afterthought, but I see it as a fundamental component for success. It’s about so much more than just holding pots.
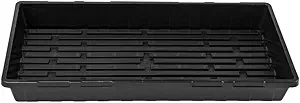
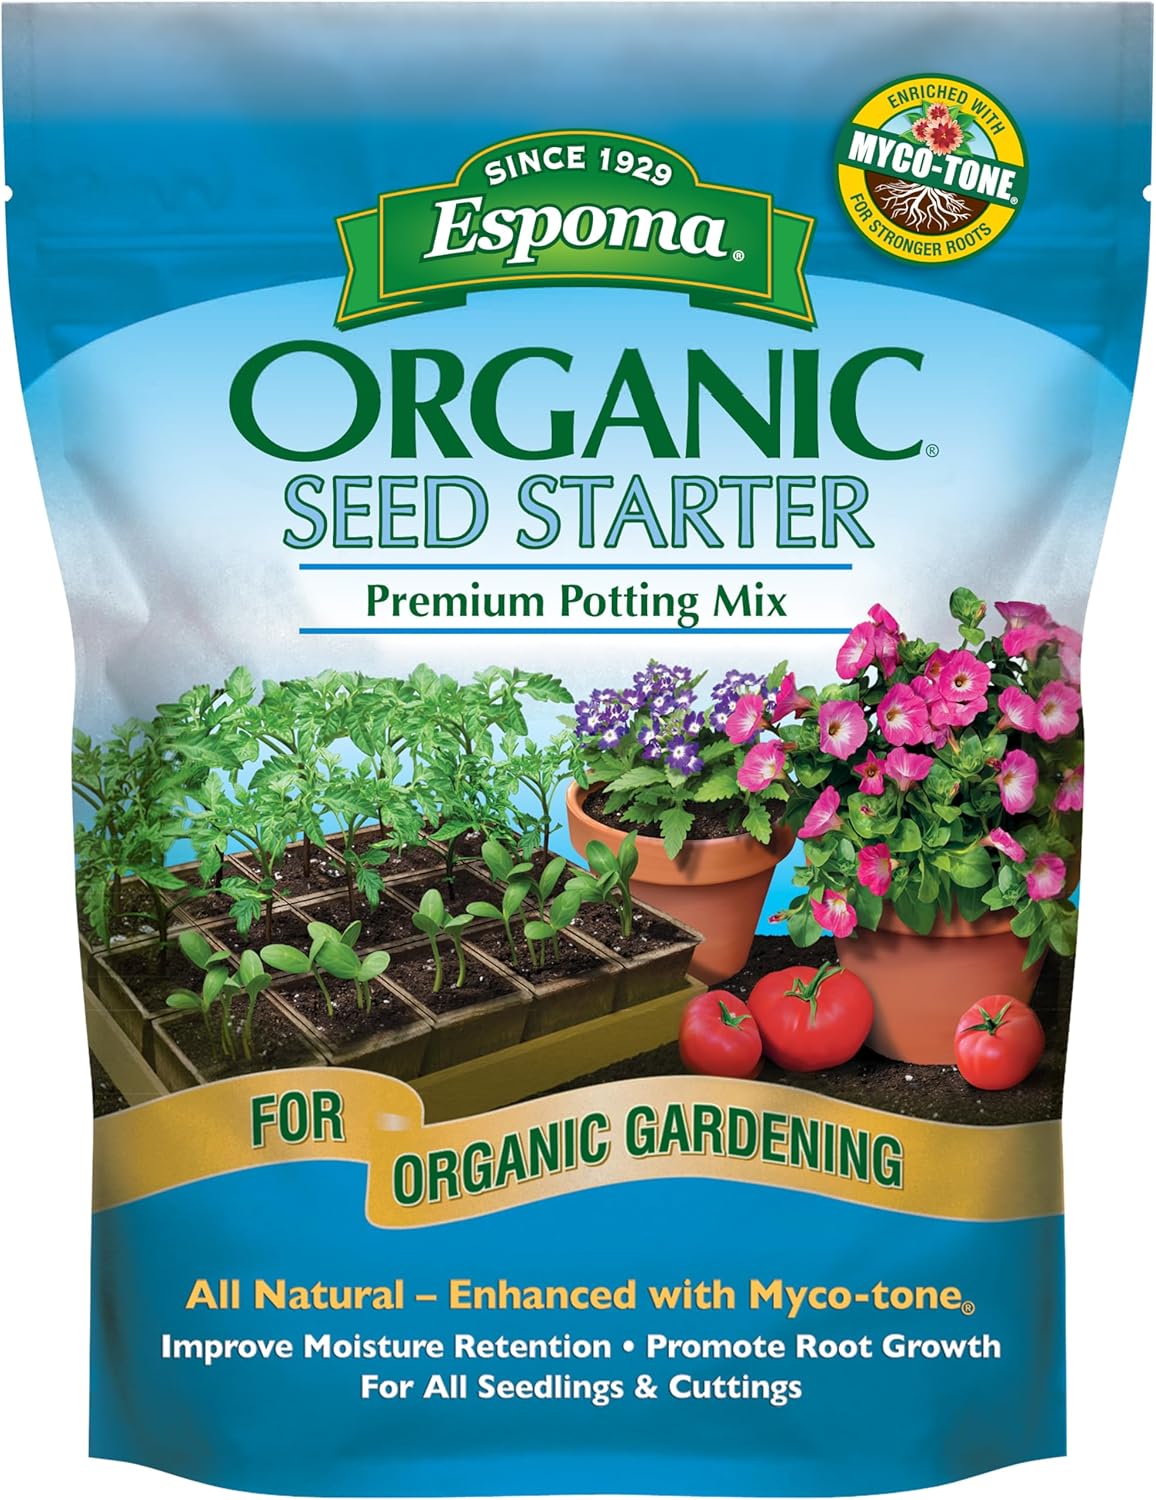
- It Triples Your Growing Space: This is the most obvious benefit. By using multi-tiered shelving, you can easily triple your square footage. This means more seedlings, more herbs, and more of the best vegetables to grow in a greenhouse without needing a bigger footprint.
- Improves Airflow & Plant Health: Lifting your plants off the ground is crucial. It allows air to circulate freely around the foliage and root zones, which is your number one defense against fungal diseases like powdery mildew and damping-off. A gentle breeze from one of the best greenhouse fans can now reach every plant, not just the ones on the edge.
- Saves Your Back (And Your Sanity): Good staging brings your plants up to a comfortable working height. No more constant stooping and kneeling. It transforms your greenhouse from a cluttered floor-based jungle into an organized, ergonomic workspace.
- Creates Microclimates: The top shelf is always the warmest spot, perfect for heat-loving seedlings. The bottom shelf, shaded and cooler, is ideal for hardening off plants or growing cool-weather greens. You can strategically place plants based on their needs.
- Pest Management: It’s much easier to spot and deal with pests when plants are elevated and accessible. You’re also creating a less hospitable environment for ground-dwelling slugs and snails. For more on this, our guide to greenhouse pest control is essential reading.
My Top Picks: The Best Budget-Friendly Staging on the Market
After years of trial and error, I’ve settled on a few types of “store-bought” staging that offer the best bang for your buck. These are my go-to recommendations for anyone who wants a reliable, ready-made solution without breaking the bank.
1. The All-Star: NSF-Rated Wire Shelving Unit

My Verdict: If I could only choose one type of staging for the rest of my life, this would be it. NSF-rated wire shelving (often marketed for commercial kitchens or garages) is the undisputed champion of cheap greenhouse staging. It’s tough, versatile, and practically designed for the harsh greenhouse environment.
My Hands-On Experience
I bought my first set of these shelves over a decade ago, and they are still going strong. The “NSF-rated” part is important; it means they’re built to a certain standard for cleanliness and durability. Assembly is a breeze—no tools required. You simply snap plastic collars onto the posts and slide the shelves down on top of them. The best part is that you can customize the shelf height to accommodate everything from tiny seedling trays to tall tomato plants.
The wire construction is a massive advantage. Water drains right through, so you never have pots sitting in puddles. Air circulates from below, promoting healthy roots. They are also incredibly strong; I regularly load mine with heavy bags of potting soil and large, water-laden terracotta pots without any worry. I highly recommend getting a version with caster wheels. The ability to roll the entire unit outside for a deep clean or to reconfigure your greenhouse layout is a game-changer.
Pros
- Excellent air and light circulation
- Superior drainage—no standing water
- Extremely high weight capacity
- Adjustable shelf height for versatility
- Rust-resistant finishes hold up well
- Models with wheels offer great mobility
Cons
- Small pots or seedling cells can be wobbly (easily fixed with trays)
- The industrial look might not appeal to everyone
Pro Tip: Place capillary mats or old towels on the shelves under your seedling trays to help retain moisture and make watering easier.
2. The Budget Champion: Vented Plastic Utility Shelving

My Verdict: When the budget is razor-thin, you can’t beat basic plastic utility shelving. Commonly found in garages and basements across America, these units are lightweight, surprisingly strong, and completely immune to the rust and rot that plagues other materials in a greenhouse.
My Hands-On Experience
I use these extensively in my portable greenhouse for seasonal use. They assemble in minutes—you just push the posts into the shelves. Look for models with “vented” or perforated shelves. This is a critical feature that allows for drainage and some airflow, preventing your pots from sitting in stagnant water. While their weight capacity isn’t as high as the wire units, they are more than capable of handling dozens of seedling trays and medium-sized pots.
The main advantage is that they are 100% waterproof and will never, ever rust. You can hose them down, spill fertilizer on them, and they just don’t care. They are also incredibly lightweight, making them easy to move around. The downside is that UV rays will eventually make the plastic brittle. In a greenhouse with a UV-protective cover, they last for years. If used outdoors, they might only last a couple of seasons.
Pros
- Extremely affordable—the cheapest ready-made option
- 100% waterproof, rust-proof, and rot-proof
- Very easy and fast to assemble
- Lightweight and easy to move
- Easy to clean and sanitize
Cons
- Lower weight capacity than metal
- Plastic can become brittle with long-term UV exposure
- Shelves are typically not adjustable
Pro Tip: For added stability, use zip ties to secure the unit to one of your greenhouse frame posts, especially if you have it loaded with top-heavy plants.
3. The Workspace Wonder: A Budget-Friendly Potting Bench

My Verdict: While shelving is for storage, a potting bench is for work. Having a dedicated surface at a comfortable height for potting, seeding, and transplanting is a luxury you can’t afford to skip. Luckily, there are some great budget-friendly options that combine a workspace with valuable storage.
My Hands-On Experience
A good potting bench needs two things: a durable, water-resistant work surface and at least one shelf for storage. I found a fantastic model made of fir wood with a galvanized metal tabletop. The metal top is brilliant; it’s easy to clean, won’t rot from spilled water, and provides a smooth surface for working. The wood frame comes treated, but I highly recommend adding an extra coat of outdoor-rated sealant or paint before assembly to maximize its lifespan in the humid greenhouse environment.
This unit provides a top workspace, a small upper shelf for tools, and a large lower shelf for storing bags of soil or pots. It creates a central “command station” in your greenhouse. While it’s not designed to hold dozens of heavy plants like a storage rack, its utility as a workspace makes it an invaluable piece of staging. It’s one of the core items covered in our greenhouse gardening tips for beginners.
Pros
- Provides a dedicated, ergonomic workspace
- Models with metal tops are durable and easy to clean
- Combines workspace with storage shelves
- Organizes your tools and supplies
Cons
- Wood requires sealing for maximum longevity
- Less storage density compared to multi-tier shelves
- Assembly is more involved than push-fit shelving
Unleash Your Inner Genius: My Favorite Frugal & DIY Staging Ideas
This is where the real fun begins. Ready-made products are great, but you can achieve fantastic results for a fraction of the cost with a little creativity. Here are some of my all-time favorite DIY staging solutions that are cheap, effective, and require minimal building skills.
The Classic: Cinder Block & Plank Benches
This is the original cheap greenhouse staging, and it’s still one of the best. It’s ridiculously simple, incredibly strong, and you can configure it in endless ways.
- How to do it: Get a stack of concrete cinder blocks from any home improvement store. Place two blocks at either end of your desired bench length, and lay sturdy wooden planks (like 2x6s or 2x8s) across them. For longer benches, add a central support block. That’s it. You’re done.
- Why I love it: It’s modular, super-strong, and the cinder blocks add valuable thermal mass to your greenhouse. They absorb heat during the day and release it slowly at night, helping to moderate temperature swings. This is a critical concept we discuss in how hot do greenhouses get. Use untreated wood and let it weather naturally, or seal it for a longer life.
The Upcycler’s Dream: Repurposed Finds
Your local thrift store, flea market, or even your own basement can be a goldmine for cheap staging.
- Old Tables & Benches: A sturdy old kitchen table or patio coffee table can make a perfect workbench.
- Metal Baker’s Racks: These are essentially decorative versions of the wire shelving I recommended earlier. They are perfect for holding plants.
- Upcycled Pallets: Secure a pallet vertically against a wall. The slats are perfect for tucking in small pots of herbs or using S-hooks to hang tools. Ensure you’re using a heat-treated (marked with “HT”) pallet, not one treated with chemicals (marked “MB”).
The Weekend Project: Simple A-Frame Benches
If you’re comfortable with a saw and a drill, you can build incredibly sturdy A-frame benches for very little money. The design is simple: create two “A” shaped legs out of 2x4s and connect them with a long top rail and a lower shelf support. Lay slatted wood tops (like fence pickets) across them for excellent drainage. This is a great first step if you’re considering a larger project like learning how to build a greenhouse at home.
A Smart Buyer’s Checklist: What to Look For in Cheap Staging
Whether you’re buying new or salvaging old, keep these key criteria in mind. They are the difference between a savvy purchase and a future headache.
1. Material, Material, Material
A greenhouse is a brutal environment: high humidity, constant water, and intense UV. The material is everything.
- Good: Powder-coated steel. The coating provides a good barrier against rust, but any scratch or chip will become a failure point.
- Better: Heavy-duty plastic. It’s immune to water and rot but can be weakened by UV over many years.
- Best (for the price): NSF-rated chrome or zinc-plated wire. These finishes are designed for harsh environments and offer excellent longevity.
- Avoid: Untreated steel (will rust instantly), particle board (will swell and disintegrate), and untreated softwood in direct contact with soil.
2. Shelf Design: Let it Breathe (and Drain!)
Solid shelves are a recipe for disaster. They trap moisture, leading to root rot and fungal growth. Always opt for staging with slatted, grated, or mesh shelves. This is non-negotiable for plant health. This principle is a cornerstone of our general advice on best greenhouse shelving.
3. Know Your Load: Weight Capacity
Don’t underestimate the weight of your plants. A single tray of freshly watered seedlings can weigh 10-15 pounds. A large tomato plant in a 5-gallon pot can easily top 50 pounds. Add that all up, and you have a significant load. Always check the manufacturer’s specified weight capacity per shelf and don’t exceed it.
4. Stability is Safety
Look for staging with a wide, stable base. Tall, narrow units are prone to tipping, which is dangerous for you and devastating for your plants. If you must use a tall unit, always secure it to the greenhouse frame or a solid wall.
Frequently Asked Questions About Greenhouse Staging
1. Can I use wood shelving in my greenhouse?
Yes, but with caution. Naturally rot-resistant woods like cedar or redwood are excellent but expensive. For cheaper woods like pine, you MUST seal them thoroughly with an outdoor-rated, non-toxic sealant, paint, or stain. Re-apply every couple of years. Untreated pine will rot away in a season or two.
2. How should I arrange my staging inside the greenhouse?
Typically, you’ll run benches along the long sides of the greenhouse, leaving a central walkway. A potting bench often works best at the far end, opposite the door. Keep taller plants on the north side (in the Northern Hemisphere) so they don’t shade shorter plants. Leave enough space between units for your wheelbarrow or cart to pass through.
3. How do I clean and sanitize my greenhouse staging?
At least once a year (ideally between seasons), remove all plants and give your staging a thorough cleaning. For plastic or metal, scrub with a 10% bleach solution (1 part bleach to 9 parts water) or a horticultural disinfectant. Rinse thoroughly and let it dry completely in the sun before bringing plants back in. This helps prevent the carryover of pests and diseases.
4. What’s the difference between “staging” and “benching”?
The terms are often used interchangeably. Historically, “benching” refers to permanent, built-in benches, often made of wood or metal. “Staging” more commonly refers to freestanding, movable shelves and tables. In modern hobby greenhouse terms, the distinction is largely academic.
My Final Word: Elevate Your Greenhouse Game
Great greenhouse staging doesn’t have to be expensive. It just has to be smart. By prioritizing durable, water-proof materials and designs that promote airflow and drainage, you can create a hyper-efficient and organized growing space for a surprisingly small investment.
Whether you opt for the unbeatable versatility of NSF-rated wire shelving, the rock-bottom price of plastic utility shelves, or the rugged simplicity of a DIY cinder block bench, you are making one of the most impactful upgrades to your greenhouse. You’re investing in better organization, better plant health, and a more enjoyable gardening experience. Now go get those plants off the floor and watch your garden thrive!