Your First Greenhouse: The Ultimate Beginner’s Guide to a Year-Round Garden
I remember the day my first greenhouse arrived. It was a flat-pack box of promise, a small 6×8 foot portable model that I was convinced would instantly transform my backyard into a tropical paradise. I assembled it with wild enthusiasm… and then proceeded to make every mistake in the book. I cooked my first batch of seedlings, battled a mysterious white fuzz on my cucumbers, and couldn’t figure out why my tomatoes had plenty of flowers but no fruit. It was a humbling, frustrating, and ultimately, incredibly rewarding experience.
That first greenhouse, with all its trials and tribulations, was my classroom. It taught me that greenhouse gardening isn’t magic; it’s a skill. It’s about creating a tiny, personal ecosystem and learning to be its benevolent ruler. Now, with over 20 years of experience and several greenhouses under my belt, I want to be the guide I wish I’d had back then. This guide is for you—the ambitious beginner, standing where I once stood, ready to unlock the incredible potential of year-round gardening.
Forget the intimidating jargon and complex charts. We’re going to walk through this journey step-by-step, covering the absolute essentials you need to go from an empty structure to a thriving, productive garden. Let’s begin.
Your Greenhouse Quick-Start Checklist
Feeling overwhelmed? Don’t be. Here are the four foundational pillars of successful greenhouse gardening. Master these, and you’re 90% of the way there.
- Start with the Right Greenhouse: Don’t overdo it. Choose a small, manageable portable or miniature greenhouse to learn the ropes without a massive investment.
- Master Temperature & Airflow: Your number one job is to keep your greenhouse from getting too hot. Ventilation (opening doors/windows) and air circulation (a simple fan) are not optional—they are essential daily tasks.
- Grow “Easy Win” Plants First: Build your confidence by starting with fast-growing, forgiving plants like salad greens, radishes, and herbs. Save the prize-winning orchids for year two.
- Learn to Water Wisely: The enclosed, humid environment of a greenhouse means plants need water differently. The “finger test” (sticking your finger an inch into the soil) is your most reliable tool.
Chapter 1: Choosing Your First Greenhouse (Your Garden’s New Home)
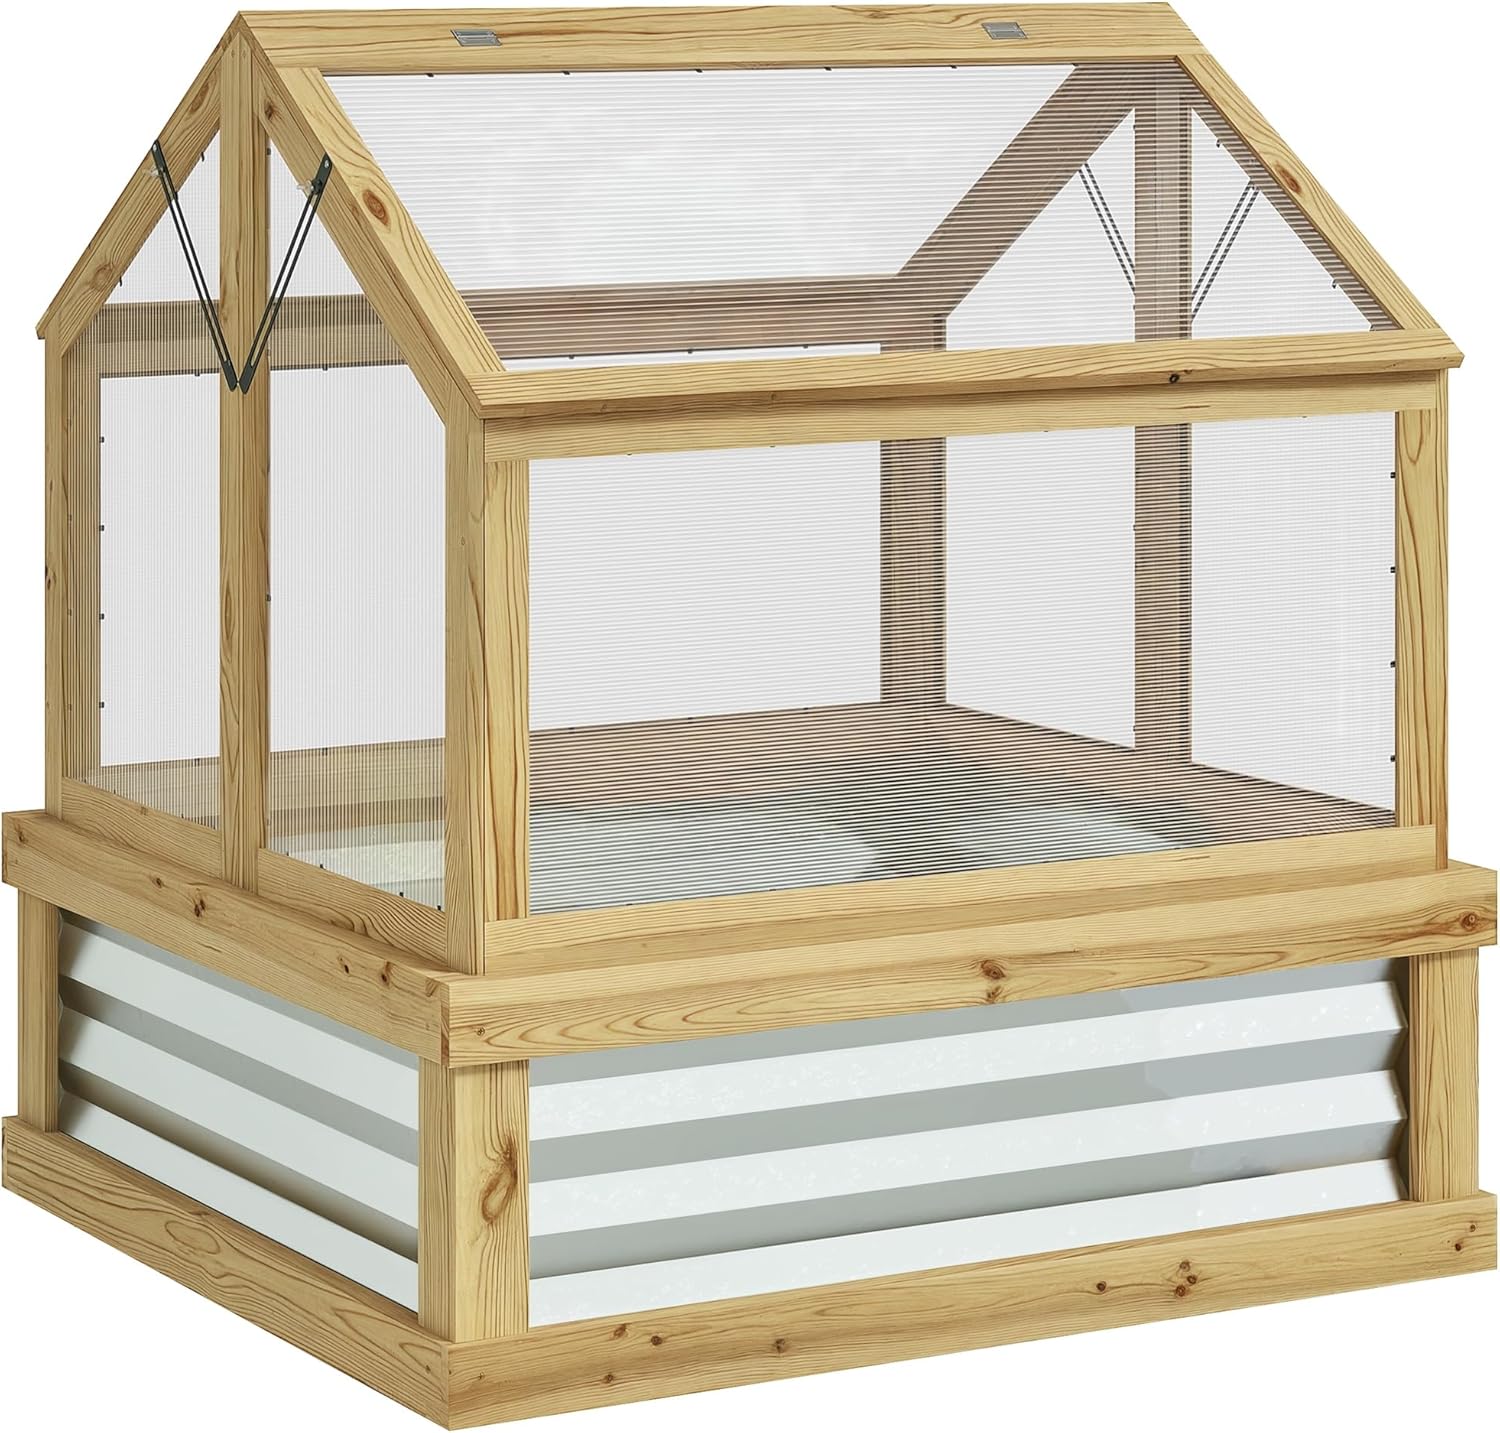
The sheer number of greenhouse options can be paralyzing for a beginner. Walk-in, lean-to, cold frame, polycarbonate, glass… it’s a lot. My advice is simple and emphatic: start small and simple.
Your first greenhouse is for learning. It’s for understanding how the sun heats the space, how humidity builds up, and how airflow works. It’s much easier to learn these principles in a small, 6×8 foot structure than in a massive, expensive one. You can always upgrade later once you’ve honed your skills. The journey often begins with a best portable greenhouse, which offers incredible value and a low-risk entry point.
Material Matters: A Beginner’s Breakdown
- Polyethylene Film (PE): This is the plastic cover found on most portable and hoop-style greenhouses. Pros: Very affordable, lightweight, diffuses light well (preventing scorch). Cons: Less insulating, cover may need replacing every 2-4 years. Verdict: Perfect for beginners.
- Polycarbonate Panels: These are rigid, twin-wall panels. Pros: Excellent insulation, extremely durable, long-lasting. Cons: More expensive. Verdict: A fantastic upgrade for your second greenhouse, or if you live in a colder climate and are serious from day one.
My Top Greenhouse Pick for Beginners: The Ohuhu Walk-In

For a beginner, I believe this style of portable walk-in greenhouse strikes the perfect balance of size, functionality, and price. It’s large enough to feel like a “real” greenhouse, with ample shelving for starting seeds and growing mature plants, but it’s not a daunting financial or spatial commitment.
I love this model because the tough, gridded PE cover is tear-resistant, and it features roll-up windows with mesh screens. This is a critical feature for cross-ventilation, which is essential for plant health. It comes with 12 shelves, providing a huge amount of growing space right out of the box. Assembly is straightforward and requires no tools. This is the ideal classroom for your first year of greenhouse gardening.
Chapter 2: Location, Location, Location (Setting Up for Success)
Where you place your greenhouse is just as important as which one you buy. A poorly sited greenhouse will be a constant struggle, while a well-placed one will practically run itself. Here’s your checklist:
- Seek the Sun: Your greenhouse is a solar collector. It needs a minimum of 6 to 8 hours of direct, unobstructed sunlight per day. The ideal orientation is with the longest side facing south to maximize winter sun exposure.
- Find Level Ground: The frame needs to sit on a flat, level surface to be stable and ensure the doors work properly. Clear the area of rocks and weeds before you begin building.
- Ensure Good Drainage: Don’t build in a low-lying spot where water pools. You’ll be using a lot of water inside, and you want excess to drain away from the structure. A simple gravel base can work wonders.
- Block the Wind: Wind is the enemy of a portable greenhouse. If possible, use a wall, a hedge, or a fence as a natural windbreak. This will reduce stress on the frame and cover and prevent heat loss.
- Plan for Utilities: You will need easy access to a water source (a hose that reaches is a must). Access to an electrical outlet is also a huge bonus for running fans or a heater in the future.
Chapter 3: The Big Two (Mastering Temperature & Airflow)
Welcome to your new primary job as a greenhouse owner: you are now a climate manager. A sealed greenhouse is a solar oven. It is designed to trap heat, and it does its job exceptionally well. For a deep dive, you can read my guide on how hot greenhouses get, but the key takeaway is that you’ll spend more time trying to cool your greenhouse than heat it.
Ventilation is NOT Optional
On any sunny day, even a cool 60°F (15°C) spring day, the inside temperature can soar past 100°F (38°C) in under an hour. This will kill your plants. You must vent your greenhouse. This simply means opening the doors and windows to let hot air escape and cool air enter. Make it a part of your morning routine.
Why You Need a Fan
Air circulation—not just ventilation—is the secret weapon of pro growers. Stagnant, humid air is a breeding ground for fungal diseases. A gentle breeze from a fan strengthens plant stems, helps prevent pests, and ensures an even temperature throughout the greenhouse. You don’t need a jet engine; a simple oscillating fan works perfectly. Explore our full breakdown of the best greenhouse fans to see more options.
Essential Tool #1: The Clip-On Fan

For a beginner’s greenhouse, a simple, affordable clip-on fan is all you need. The Comfort Zone 6″ Fan is a workhorse. It’s designed for outdoor/damp conditions, its clamp is strong and attaches easily to greenhouse poles or shelves, and the oscillating feature ensures the air keeps moving everywhere. I recommend running it 24/7 on a low setting. It’s a small energy investment for a massive improvement in plant health.
Monitor, Don’t Guess
You can’t manage what you don’t measure. A simple digital thermometer/hygrometer is an indispensable tool. It tells you the current temperature and humidity, and more importantly, tracks the minimum and maximums. This lets you know just how hot it got during the day and how cold it got overnight. Aim for a general daytime range of 70-85°F (21-29°C). For more specifics, check our guide to the ideal temperature for a greenhouse.
Essential Tool #2: Digital Thermometer/Hygrometer
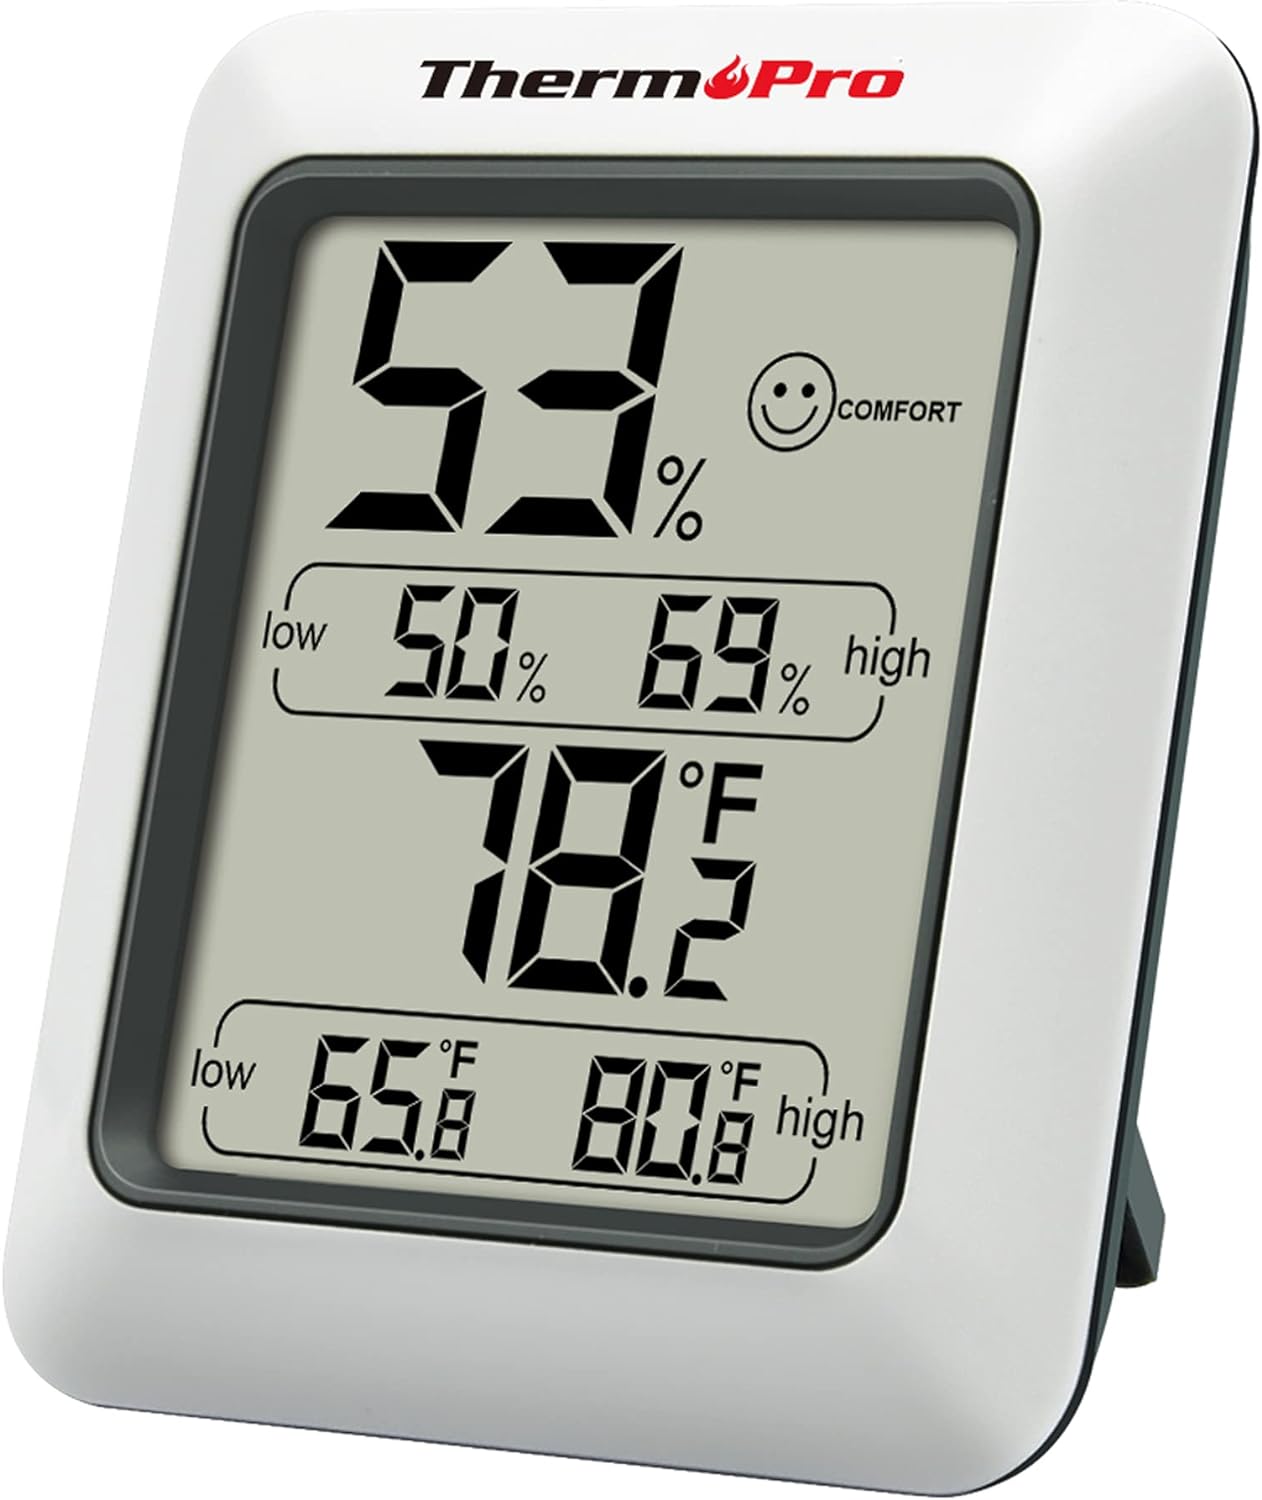
The AcuRite Digital Thermometer is my go-to. It’s inexpensive, accurate, and reliable. It clearly displays the current temperature and humidity, along with the high/low records for the past 24 hours. Hang it at plant level, out of direct sunlight, for the most accurate reading of your plants’ environment. This is your greenhouse dashboard—don’t garden without it.
Chapter 4: Furnishing Your Greenhouse (Creating Your Workspace)
An empty greenhouse is an inefficient one. You need to think vertically. Staging (the official term for benches and shelves) is what turns your greenhouse into a functional workspace and maximizes your growing area. For a complete look at options, our article on cheap greenhouse staging is your best resource.
Key Principle: Always choose staging with slatted or mesh shelves. Solid shelves prevent drainage and block airflow, creating a perfect environment for root rot and disease. The best greenhouse shelving always prioritizes air and water flow.
Chapter 5: Your First Crops (Guaranteed Success for Beginners)
The key to building confidence is achieving early success. Don’t try to grow wasabi and saffron on your first go. Start with plants that are fast, forgiving, and productive. Once you master these, you can explore the full list of the best vegetables to grow in a greenhouse.
My “Easy Wins” List for Beginners:
- Salad Greens (Loose-leaf lettuce, Spinach, Arugula): They grow incredibly fast in the cool conditions of spring and fall. You can harvest the outer leaves continuously for a long-lasting supply.
- Radishes: The ultimate instant gratification crop. Many varieties go from seed to harvest in under 30 days.
- Bush Beans: Productive, easy to manage, and they don’t require complex trellising like pole beans do.
- Herbs (Basil, Mint, Cilantro, Parsley): Grow these in pots. They thrive in the warmth and you’ll have fresh herbs for your kitchen all season long. Basil, in particular, loves the extra heat.
Chapter 6: The Daily Dance (Watering, Feeding, and Care)
This is where the habit of gardening is formed. A few minutes in your greenhouse each day will pay huge dividends.
- The Finger Test: The number one mistake beginners make is overwatering. Before you water, stick your index finger one inch into the soil. If it comes out dry, it’s time to water. If it’s moist, wait another day.
- Water in the Morning: Water the soil, not the leaves. Watering in the morning gives the plant foliage all day to dry out, which drastically reduces the risk of fungal diseases.
- Keep an Eye on Humidity: Your greenhouse will naturally be humid. This is great for seedlings, but can be an issue for mature plants. Your fan will help a lot. For an in-depth guide, see our article on how to control humidity.
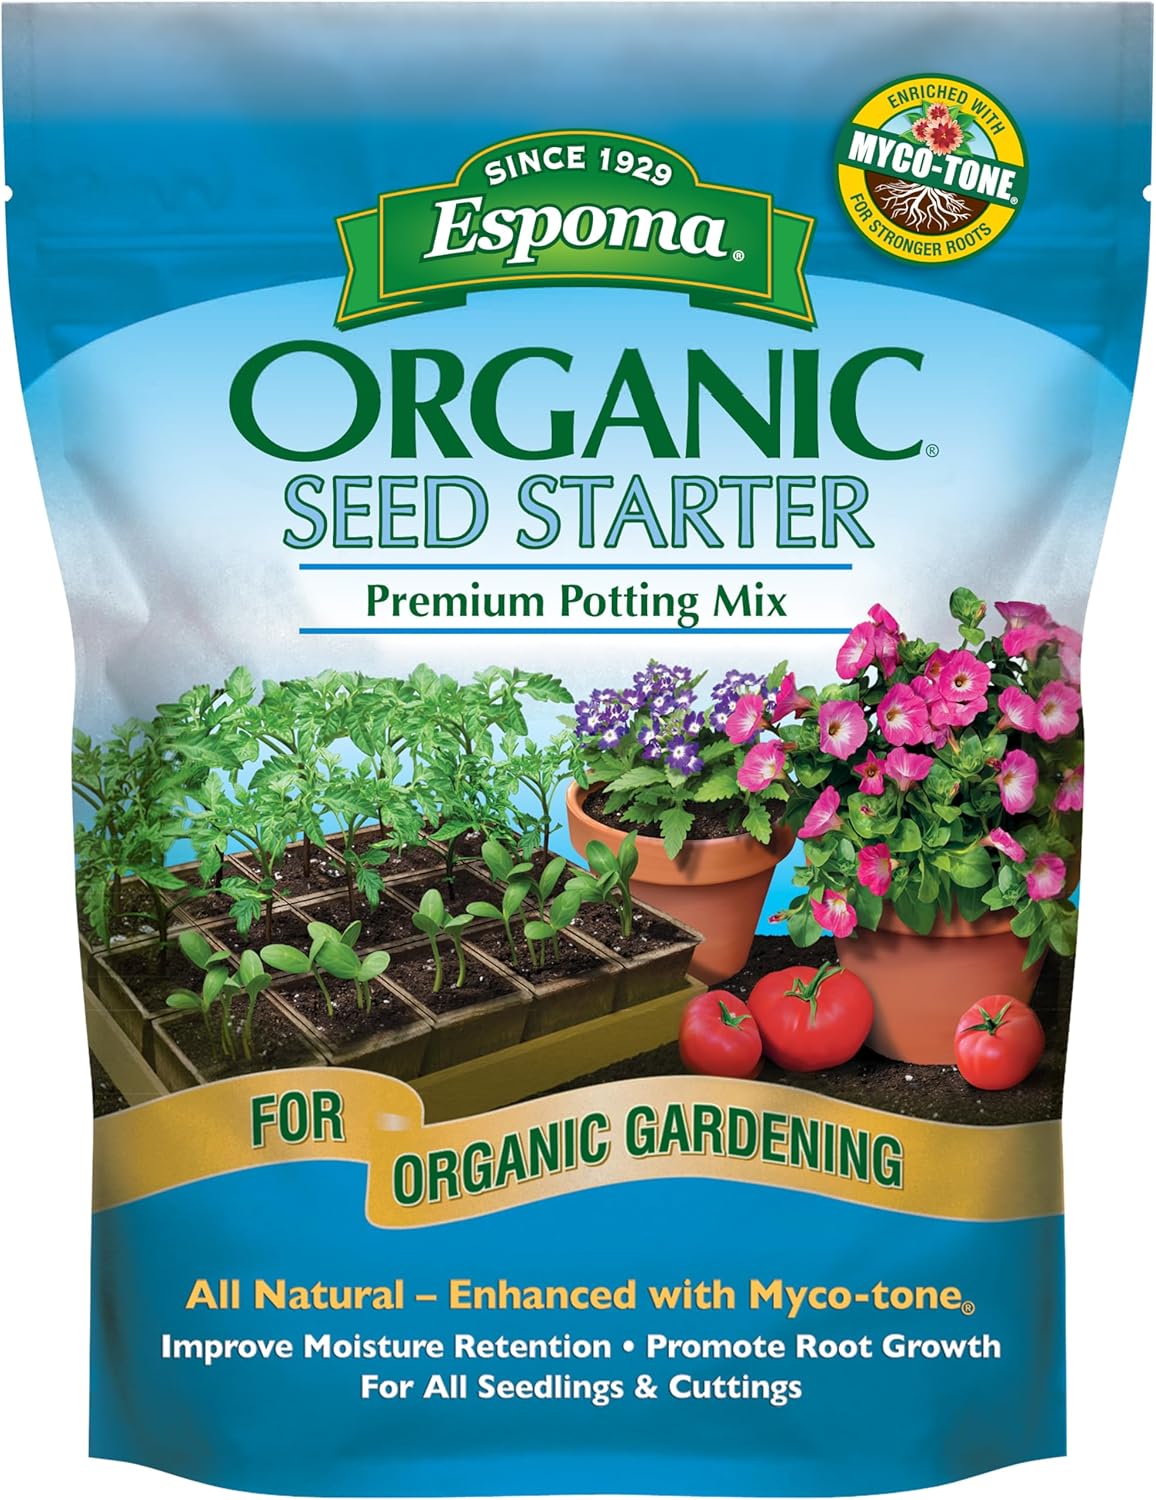
- Feed Simply: Once your plants have a few sets of true leaves, they’ll appreciate being fed. Start with a simple, all-purpose liquid fertilizer (like a fish emulsion or a balanced 10-10-10) mixed at half-strength every two weeks.
Chapter 7: Your First Foe (Common Pests & Problems)
Sooner or later, you’ll find an uninvited guest on your plants. Don’t panic! Integrated Pest Management in a greenhouse starts with prevention. A clean space and good airflow will solve 90% of your problems. For a complete guide, read our post on greenhouse pest control.
The Beginner’s “Most Wanted” List:
- Aphids: Small, soft-bodied insects, often green or black. A strong blast of water from a spray bottle will knock them off.
- Spider Mites: Tiny specks that create fine webbing, usually on the underside of leaves. They thrive in hot, dry conditions. Increase humidity by misting your plants.
- Fungus Gnats: Annoying little flies that hover around wet soil. They’re a sign of overwatering. Let the soil surface dry out between waterings.
For all three, a simple, organic insecticidal soap or neem oil spray is a safe and effective treatment.
Your First-Year Greenhouse Calendar (A Simple Guide)
This is a sample timeline for a typical Zone 6-7 climate. Adjust it based on your local last frost date.
Late Winter (February-March)
This is prime time for starting seeds of slow-growing, heat-loving plants like tomatoes, peppers, and eggplant indoors (under lights) or in the greenhouse if you have a small heater. Check out our heater guide for safe options.
Early Spring (April-May)
Plant cool-weather crops like lettuce, spinach, and radishes directly in pots or beds in the greenhouse. Begin moving your tomato and pepper seedlings into the greenhouse to “harden off” and get used to the bright light.
Late Spring/Early Summer (May-June)
This is the transition period. Your cool-weather crops will be finishing up. It’s time to plant your tomatoes, peppers, and cucumbers in their final large pots or beds inside the greenhouse. Start paying close attention to ventilation as days get hotter.
Summer (July-August)
Your main job is heat management! Vent daily, run your fan, and consider a shade cloth if temperatures are extreme. Harvest tomatoes, peppers, and beans regularly. Water frequently.
Fall (September-October)
As summer crops finish, pull them out and plant another round of cool-weather crops like lettuce, kale, and spinach for a fall and winter harvest. The greenhouse will protect them from the first frosts.
Winter (November-January)
Your greenhouse becomes a sanctuary. You can harvest hardy greens well into the winter. It’s also the perfect place to store dormant plants and protect perennials. Now is the time to plan for next year!
Beginner’s Most-Asked Questions
1. Do I need to build a foundation for my first greenhouse?
For a small, portable greenhouse, you do not need a permanent concrete foundation. However, it is essential to have a level and secure base. A simple frame made of 4×4 treated lumber or a packed gravel pad works perfectly and provides a stable anchor point.
2. Should I start with seeds or buy starter plants?
For your very first season, I recommend a mix. Buy a few healthy starter plants (like tomatoes or peppers) from a local nursery for a guaranteed harvest. At the same time, try starting easy seeds like lettuce, radishes, and beans. This gives you the best of both worlds and takes some of the pressure off.
3. How do I secure my portable greenhouse against the wind?
The stakes included with most kits are inadequate. First, use a windbreak if possible. Second, upgrade your anchors. Driving rebar stakes deep into the ground at all four corners and securing the greenhouse frame to them with zip ties or wire is a very effective method. For a deeper dive, you can explore guides on how to build a greenhouse at home, as they often cover anchoring techniques.
Conclusion: Your Adventure Begins Now
Your greenhouse is more than a structure; it’s a gateway. It’s a place to experiment, to learn, and to connect with the food you eat and the world around you. You will make mistakes—we all do. Your first tomatoes might get blossom-end rot. You might forget to vent it one day and find your lettuce has wilted. That’s okay. Each “failure” is a lesson that makes you a better gardener.
Start simple, stay observant, and celebrate your successes. The first salad you eat that was grown entirely inside those plastic walls, in the middle of a cool spring day, will taste like the greatest victory on Earth. Welcome to the wonderful, rewarding world of greenhouse gardening.
Ready for more? Dive into our collection of advanced greenhouse gardening tips for beginners to continue your learning journey.