How to Build a Greenhouse at Home: A Complete DIY Guide for 2025
For any dedicated gardener, building your own greenhouse is the ultimate dream. It’s more than just a structure; it’s your personal, year-round Eden. It’s a place to escape the winter blues, a laboratory for new plants, and a guarantee of fresh, homegrown food right outside your door. The idea might seem intimidating, a project reserved for master carpenters, but the reality is that with the right plan and a bit of determination, building a functional and beautiful greenhouse is well within your reach.
This isn’t just a list of vague instructions. This is a comprehensive, step-by-step blueprint designed for the American DIYer. We’ll walk you through every stage of the process, from laying the foundation to installing the final panel, sharing expert tips and product recommendations along the way. Get ready to turn that dream into a reality.
Why You Can Trust This Guide
We don’t just write about greenhouses; we build them. This guide is built on a foundation of hands-on experience, countless hours of research, and a genuine passion for home gardening. Our team has managed DIY construction projects, consulted with professional contractors and horticulturalists, and—most importantly—made the mistakes so you don’t have to. We understand the specific challenges U.S. gardeners face, from local building codes to diverse climate zones. Every tip, technique, and product recommendation in this article is grounded in real-world application, ensuring you get advice that is practical, safe, and trustworthy.
Part 1: The Planning Phase – The Blueprint for Success
The old carpenter’s adage, “measure twice, cut once,” is doubly true for a project of this scale. Thorough planning is the single most important factor in a successful greenhouse build. Rushing this stage will lead to costly mistakes and frustration later.
1Define Your Purpose & Choose a Type
Before you buy a single 2×4, ask yourself: What is the primary goal of my greenhouse?
- Seed Starting: A small, modest structure might be all you need to get a jump on the spring season.
- Year-Round Food Production: You’ll need a larger, more robust structure that can be heated and ventilated effectively. This is where you’ll want to plan for the best vegetables to grow in a greenhouse.
- Overwintering Tender Plants: Insulation and heating capacity will be your main concerns.
Your purpose will guide your choice of greenhouse type:
- Lean-To: Built against an existing wall of your home or garage. It’s cost-effective and easily accessible to utilities, but size and sunlight can be limited.
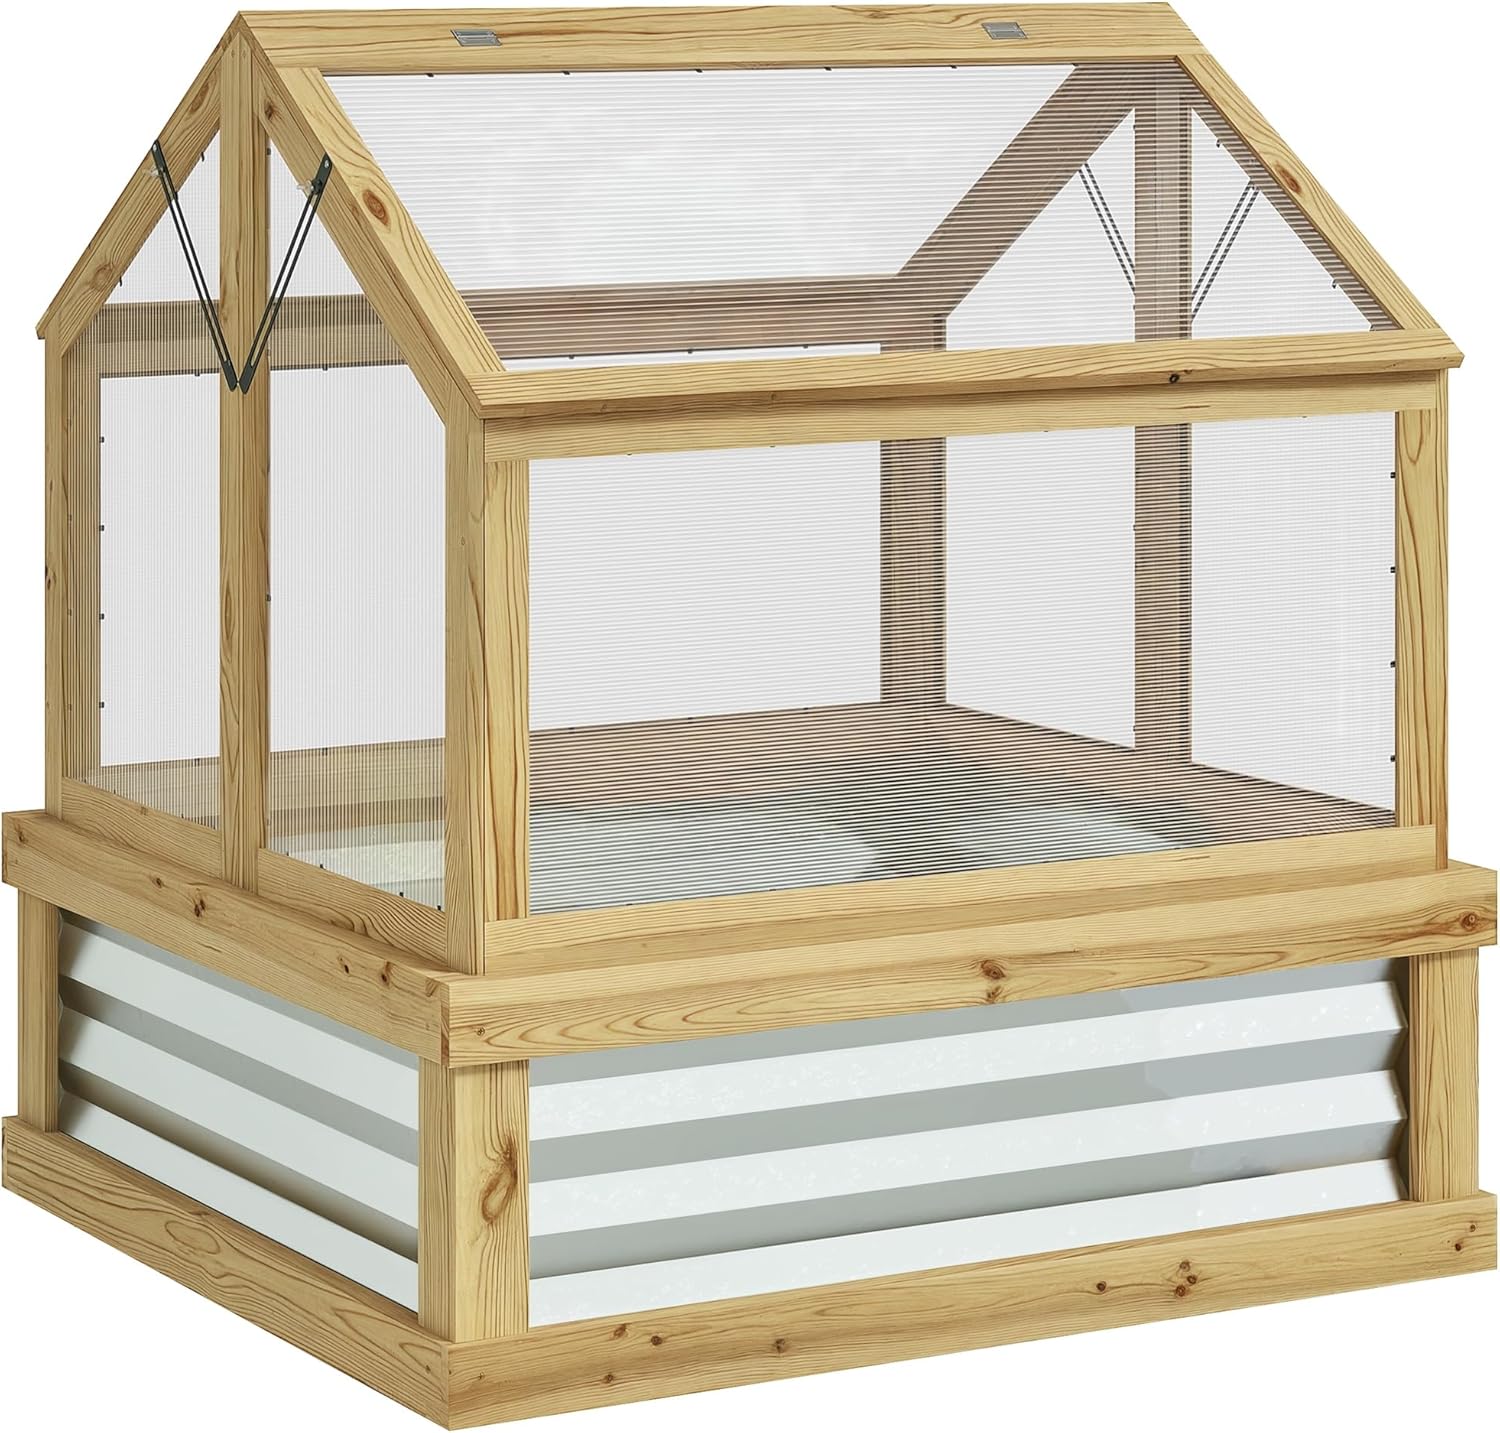
- Freestanding (A-Frame): The classic, gable-roofed structure. It offers excellent space, good light exposure, and is highly customizable. This is the type our guide will focus on.
- Hoop House: A semi-circular tunnel made from metal hoops and covered in greenhouse plastic. It’s the most budget-friendly option for a large growing area but offers less insulation and permanence.
2Location, Location, Location
Where you site your greenhouse is critical. Look for a spot that meets these criteria:
- Sunlight: The most important factor. You need a location that receives a minimum of 6-8 hours of direct, unobstructed sunlight per day, especially during the winter months. In the U.S., a south or southeast-facing orientation is ideal.
- Drainage: Avoid low-lying areas where water collects. The site should be level and well-drained.
- Access: You’ll be carrying tools, soil, and plants back and forth. Ensure you have easy access to the site and proximity to water and (if needed) an electrical source.
- Wind Protection: A natural windbreak from a line of trees or a fence can protect your structure from harsh winds, reducing heat loss and stress on the frame.
3Budgeting & Checking Local Codes
A DIY greenhouse can range from a few hundred to several thousand dollars. Be realistic about your budget. Major costs include the foundation, framing materials, glazing (the panels), and hardware. Before you buy anything, contact your local municipal or county building department. Ask if a permit is required for a structure of your intended size. Many areas have exemptions for small “utility” or “agricultural” buildings under a certain square footage (e.g., 120 sq ft), but it’s always better to be safe than sorry.
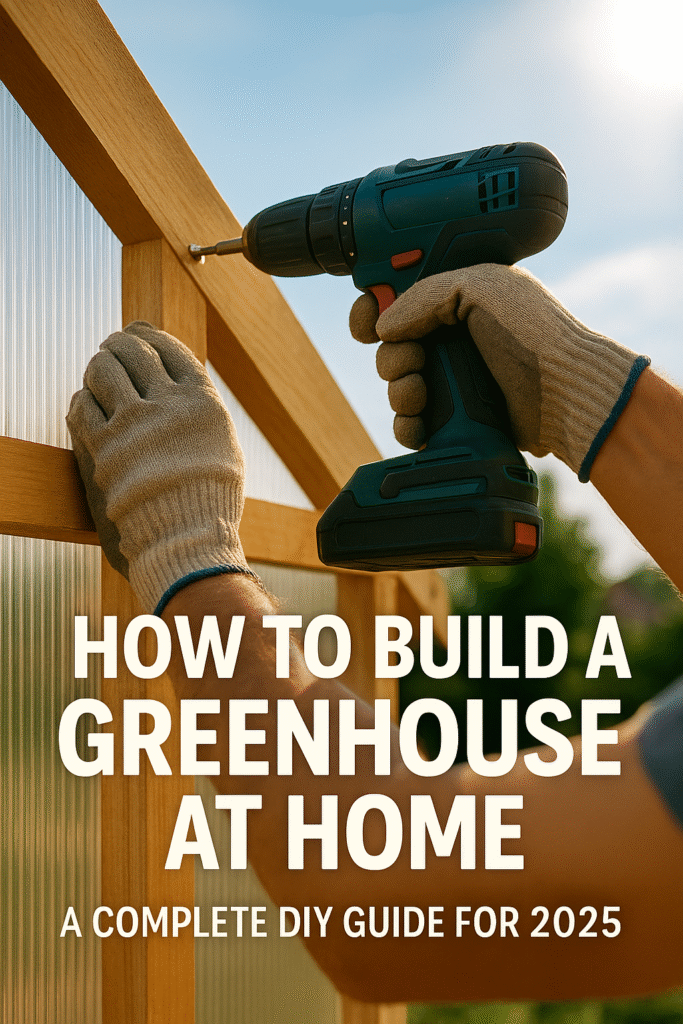
Part 2: The Build – From Ground to Glazing
Now for the exciting part. We’ll outline the steps for building a classic 8’x10′ wooden A-frame greenhouse, a popular and manageable size for most backyards.
4The Foundation – A Solid Start
A stable foundation is non-negotiable. For a wooden greenhouse, a simple and effective option is a perimeter frame of pressure-treated lumber on a gravel base. This ensures drainage and provides a level surface to build on.
- Mark and Excavate: Lay out the 8’x10′ perimeter with stakes and string. Excavate the area inside to a depth of 4-6 inches.
- Lay Landscape Fabric: Cover the excavated area with high-quality landscape fabric to prevent weeds.
- Add Gravel: Fill the area with 3-4 inches of crushed gravel or drainage rock and compact it thoroughly with a hand tamper.
- Build the Base Frame: Construct an 8’x10′ rectangle using 4×4 or 4×6 pressure-treated lumber, joining the corners with long structural screws or rebar stakes. Ensure this frame is perfectly level and square (measure diagonally—the numbers should match).
Recommended Foundation Materials

DeWitt Pro-5 Weed Barrier Landscape Fabric
This 5 oz. professional-grade fabric is essential for preventing weeds and creating a stable base. It allows water and nutrients to pass through while blocking sunlight.

Simpson Strong-Tie SDWS Structural Wood Screws
Far superior to nails or lag bolts for joining foundation timbers. These hardened screws have immense shear strength and a double-barrier coating for corrosion resistance.
Check on Amazon5Framing the Structure
With a level base, it’s time to build the skeleton. We’ll use standard 2×4 lumber. For longevity, cedar or redwood are ideal but expensive. Pressure-treated pine is a durable, cost-effective alternative.
- Build the Walls: Assemble the four walls on a flat surface first. A standard wall consists of a bottom plate, a top plate, and vertical studs spaced 24 inches apart. Frame out openings for your door and any lower vents.
- Raise the Walls: With a helper, lift each wall into place on top of your foundation frame, checking for plumb (perfectly vertical) with a level. Screw them together at the corners and secure them to the foundation.
- Construct the Rafters: Cut your 2x4s for the roof rafters. A 45-degree angle (a 12/12 pitch) is common and easy to cut with a miter saw. You’ll need pairs of rafters joined at the peak by a gusset plate and notched at the bottom (a “bird’s mouth” cut) to sit securely on the wall’s top plate.
- Set the Rafters: Install the rafters, one pair at a time, spaced 24 inches apart to align with your wall studs. Secure them to the top plates of the walls.
6Choosing and Installing Glazing
The “skin” of your greenhouse is what traps the sun’s energy. You have several options:
- Polyethylene Film (6-mil): The cheapest option. UV-stabilized versions can last 3-5 years. Best for hoop houses.
- Glass: The traditional, most beautiful option. It offers the best light transmission but is heavy, fragile, and a poor insulator.
- Twin-Wall Polycarbonate: (Highly Recommended) The best all-around choice for a DIY build. It’s lightweight, virtually unbreakable, provides excellent UV protection, and the double-wall design offers significant insulation (R-value). An 8mm thickness is a great starting point.
To install polycarbonate panels, you’ll cut them to size and attach them directly to your framing using special gasketed screws that prevent water intrusion. The panels are joined together with H-channel connectors for a weatherproof seal.
Recommended Glazing & Framing Tools

8mm Twin-Wall Clear Polycarbonate Panels
Look for panels with a 10-year UV protection warranty. These provide the ideal balance of light diffusion, durability, and insulation for a 3-4 season greenhouse.
Check on Amazon
DEWALT 12-Inch Miter Saw
A quality miter saw is the single most important power tool for this project. It ensures every angle on your studs and rafters is precise, resulting in a square and strong frame.
Check on Amazon7Doors, Vents, and Airflow
A greenhouse without ventilation is an oven. Proper airflow is essential to control temperature and prevent fungal diseases. Your design must include:
- A Door: The easiest solution is to install a standard pre-hung exterior door.
- Low Vents: One or two vents near the base of the walls to draw in cool air.
- High Vents: A roof vent is critical to exhaust hot air, as heat naturally rises.
For ultimate convenience, install an automatic vent opener on your roof vent. These clever devices use a wax-filled cylinder that expands with heat, opening the vent automatically without any need for electricity or your attention.
Part 3: Finishing Touches & Getting Started
8The Interior and Utilities
With the structure complete, it’s time to make it functional.
- Flooring: A simple floor of pea gravel or flagstones over your foundation provides excellent drainage and a clean walking surface.
- Benches: Build simple but sturdy workbenches from 2x4s and wire mesh. This allows for good air circulation and drainage for your potted plants.
- Utilities: Consider running a frost-proof water spigot into the greenhouse. If you plan to add supplemental lighting or heaters, have a qualified electrician run a GFCI-protected circuit to the structure for safety.
Your First Steps to a Thriving Greenhouse
Congratulations, you’ve built a greenhouse! Now the real fun begins. The controlled environment you’ve created is a whole new world of gardening. It’s the perfect time to review some essential greenhouse gardening tips for beginners to ensure your new space flourishes from day one. Start by setting up your benches, bringing in your first plants, and planning your first crop.
Frequently Asked Questions (FAQ)
What is the cheapest way to build a greenhouse?
The most budget-friendly method is a hoop house design using PVC or metal conduit for the frame and a single layer of 6-mil UV-stabilized polyethylene plastic for the cover. Using reclaimed materials like old windows for a more traditional frame can also significantly reduce costs.
Do I need a permit to build a small greenhouse in the U.S.?
It varies greatly by location. Many municipalities do not require a permit for accessory structures under a certain size (often 100-200 sq ft). However, you must always check with your local building department before starting construction to confirm their specific rules.
What is the best material for a DIY greenhouse frame?
For durability and ease of construction for the average DIYer, wood is the best choice. Cedar or Redwood are naturally rot-resistant but costly. Pressure-treated pine offers excellent longevity at a lower price point and is suitable for ground contact in the foundation.
How do I heat my DIY greenhouse in the winter?
For moderate climates, a well-insulated greenhouse (using twin-wall polycarbonate) may stay above freezing on its own. In colder climates, small electric or propane heaters specifically designed for greenhouse use are the safest options. Always ensure proper ventilation when using any fuel-burning heater.
Conclusion: A Legacy in Your Backyard
Building your own greenhouse is a profoundly rewarding project that pays dividends for years to come. It’s a journey that teaches you new skills, deepens your connection to your garden, and provides a beautiful, functional space that will become the heart of your home. You’ve learned the steps, seen the materials, and are now equipped with the knowledge to succeed.
Take your time, enjoy the process, and before you know it, you’ll be standing inside your very own green oasis, ready to grow like never before.